

Budget Friendly Renovations: An Adelaide Homeowner Guide
Most advice about budget friendly renovations starts in the wrong place. It tells homeowners to pick cheaper tiles, cheaper taps, or more DIY, as if the lowest sticker price is the same thing as a smart renovation. In Adelaide, that thinking usually backfires once the walls come open and the project starts dealing with older wiring, moisture, asbestos, or compliance issues that never showed up in the first quote.
The better question is not, “How do I make this as cheap as possible?” It's, “How do I spend in the right places so the job finishes on budget and the home ends up better to live in?” That matters in a real market, not a theoretical one. Australians spent more than A$3 billion on home alterations and additions in the September quarter of 2023, and independent survey data shows over 30% of homeowners were working with renovation budgets of A$5,000 to A$15,000 Budget Direct home renovation costs survey. The pressure to keep a project lean is real, but so is the risk of under-allowing for what's hidden.
Why Most Budget Renovations Cost More Than Expected
A renovation looks affordable on paper until scope starts shifting. A homeowner gets a quote for a kitchen refresh, then the builder opens the wall and finds damaged framing, outdated services, or finishes that can't be reused. The project doesn't become expensive because the cabinets were too nice, it becomes expensive because the budget was set without enough knowledge of the actual site conditions.
The cheapest quote is rarely the cheapest job
The first trap is confusing a low quote with a complete quote. If one builder has allowed for demolition, framing, plumbing, electrical, drywall, painting, and finishes, while another has only priced the visible work, the second number will look better until the variations arrive. That's why a budget renovation needs to be treated like a project plan, not a shopping list.
A second trap is the belief that budget work means cutting quality everywhere. In practice, the best savings come from prioritisation, not from downgrading every material. Keep the things that still work, spend on the items that affect function and comfort, and leave the cosmetic extras until the end if the budget tightens.
Practical rule: If a line item helps the home function, stay warm or cool properly, or stay compliant, it belongs ahead of decorative upgrades.
Older homes hide more than bad finishes
In older Australian housing stock, the visible room is often the least interesting part of the job. Behind a dated kitchen splashback or bathroom vanity, you can find moisture damage, electrical work that needs updating, or materials that need specialist handling. That's why the most expensive mistake usually happens before demolition, when the scope is still vague and nobody has priced the unknowns properly.
The right mindset is simple. A budget friendly renovation is not the cheapest collection of finishes, it's the best allocation of money against risk, comfort, and long-term use. If the goal is to improve the home without turning the job into a constant variation chase, the budget has to start with reality, not optimism.
Building a Renovation Budget That Actually Works
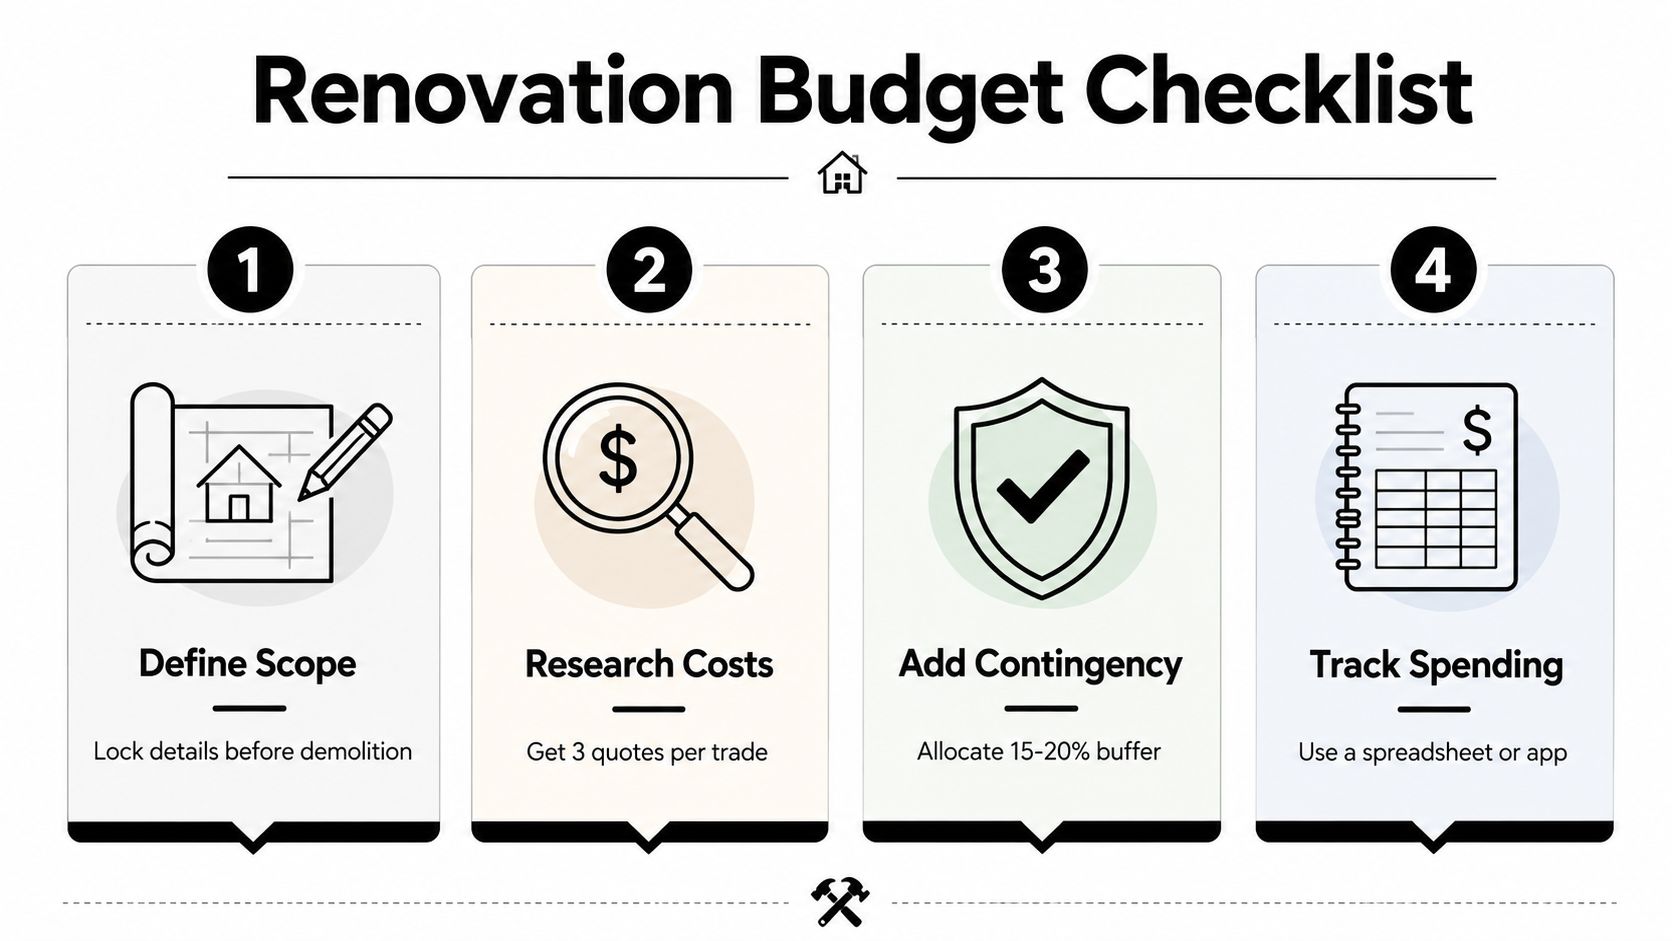
A workable renovation budget starts with a locked scope. Decide what stays, what goes, and what absolutely must happen before the first wall is opened. If the scope keeps moving while trades are pricing the job, the numbers will drift and the project will feel out of control before demolition even starts.
Start with scope, then price the real job
Before you compare quotes, write a simple scope note that separates must-haves from nice-to-haves. Must-haves are the items the room can't function without, like repairing damaged substrate, updating unsafe services, or fixing water ingress. Nice-to-haves are the upgrades that improve the look, but can be delayed if the budget tightens.
Next, get at least three itemised quotes. That doesn't just help with price comparison, it shows you where each builder thinks the risk sits. A quote that groups everything into one lump sum is hard to compare and even harder to manage once variations start.
For the cleanest budget, break costs into the same buckets every time:
- Demolition and disposal: removing existing finishes, fixtures, and debris.
- Framing and structural work: any timber repairs, opening changes, or support work.
- Plumbing: rough-in, fit-off, and any pipe changes.
- Electrical: circuits, lighting, switches, and compliance.
- Drywall and linings: patching, sheeting, stopping, and prep.
- Painting: undercoat, finish coats, and touch-ups.
- Finishes: cabinetry, tiles, hardware, tapware, and final fit-off.
That structure makes it much easier to see where the money is going. It also helps when one area starts to overrun, because you can move spending from a lower-priority finish instead of pretending the overrun doesn't exist.
Add a buffer you'll actually use
For Australian renovation work, a 15 to 20 percent contingency is a sensible buffer, not padding. It's there because opening walls changes the job. Once the project is underway, review spend weekly, compare what's been spent against the original categories, and decide immediately if a change is worth it.
For practical budgeting guidance, this approach aligns well with the stepwise planning method at Templeton Built's renovation budgeting guide. The important part is discipline. A budget only works when it's reviewed, not just written down.
Hidden Structural and Compliance Costs That Blow Out Budgets
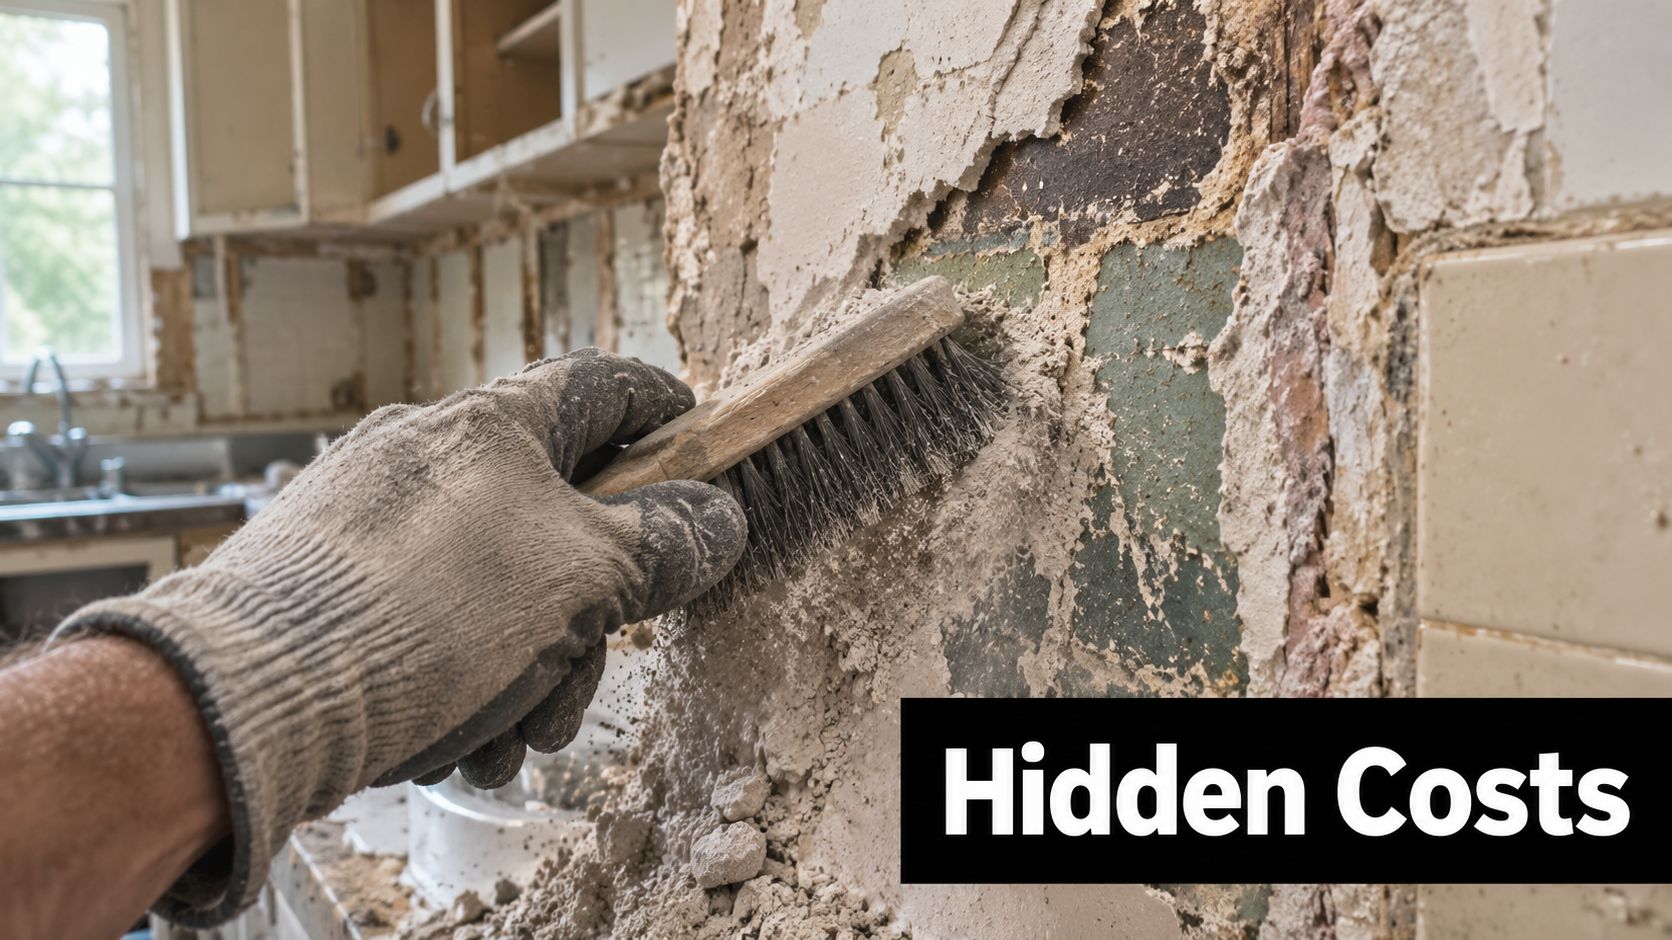
The most dangerous phrase in a renovation is “it should be straightforward.” In Adelaide's older homes, a simple kitchen or bathroom refresh can uncover problems that sit behind the visible finishes, and those problems don't care how tidy the original budget looked. If the home needs compliance work, material replacement, or safety upgrades, the job has to be dealt with properly or the project will keep bleeding money through variations.
What hidden costs usually look like
In older Adelaide housing stock, the common issues are not glamorous. Moisture damage can show up once a vanity, splashback, or old wet area lining comes off. Outdated wiring can make it obvious that the electrical side of the project needs more than a cosmetic swap. Some homes also have materials that need careful testing before work continues, especially in wall linings, eaves, or wet area surrounds.
A cheap quote often misses these realities because nobody can see them yet. That is why pre-start inspections and diagnostic checks are worth paying for. They don't make the renovation look cheaper, they make the final cost more predictable.
The lowest number on the page isn't always the lowest number you pay.
That point matters even more when the room sits inside a larger occupied home. If a hidden issue is found after demolition, the builder may need to pause the sequence, bring in another trade, and reset the program. Every reset costs time, and time is where budget blowouts start to compound.
Why compliance checks protect the budget
Compliance work is not just about satisfying a rule. It protects the homeowner from rework, delays, and the expense of undoing a job that should never have been started in the first place. In practical terms, a renovation that begins with proper checks is more likely to stay on track than one that depends on optimism and guesswork.
For homeowners who want the risk reduced before demolition, asbestos testing in Adelaide is one of the smartest early conversations to have on older properties. The point isn't to create fear. The point is to avoid paying twice for the same wall.
ABS reports that total dwelling renovation activity reached A$16.7 billion in the June 2025 quarter, up from A$15.7 billion in the March 2025 quarter ABS dwelling renovation activity. With that much work happening, plenty of projects will run into surprises. The homeowners who budget for the hidden work are the ones who finish with fewer shocks.
High-Impact Upgrades That Deliver Real Value
A lot of renovation advice stops at fresh paint and new handles. Those changes can make a room look cleaner, but they don't always make it more comfortable to live in. In Adelaide, where homes deal with hot summers, cooler winters, and plenty of older detached housing, the better use of a modest budget is often to improve how the house feels as well as how it looks.
Cosmetic refreshes versus comfort upgrades
Some upgrades are mostly visual. Others change the way the home performs day to day. The smart move is usually to combine both, but not at the expense of the basics. A room that looks new but still leaks draughts or holds heat badly can feel disappointing fast.
| Upgrade Type | Typical Cost Range | Appearance Impact | Comfort Impact | Running Cost Impact |
|---|---|---|---|---|
| Paint and hardware refresh | Low | High | Low | Low |
| New window treatments | Low to moderate | Medium | Medium | Low to medium |
| Draught sealing | Low | Low | High | Medium |
| Insulation top-up | Moderate | Low | High | High |
| Ventilation improvement | Moderate | Low | High | Medium |
The table shows the trade-off clearly. Cosmetic work gives the room a fast lift, but efficiency-first upgrades change daily liveability. The best budget outcomes usually come from a mix of both.
Where to spend inside kitchens and bathrooms
Kitchens and bathrooms are still the two rooms most homeowners prioritise. That makes sense, because they carry the most visible wear and influence resale appeal. Within those rooms, spend on the parts that affect use and cleaning first, then save on the parts that only change appearance.
For kitchens, that often means keeping the existing footprint if it still works, then improving the finishes and task lighting. For bathrooms, a functional layout with good ventilation, water-safe finishes, and practical storage will age better than expensive details that don't solve any problem. The renovation value point is not about over-capitalising, it's about not wasting money where the user won't notice the difference.
If you want a broader lens on resale-focused choices, Templeton Built's guidance on value-adding renovations is a useful companion piece. The same principle applies here. Spend where the home is uncomfortable or hard to use, not just where a showroom sample looked impressive.
Deciding Between DIY and Professional Work
DIY saves money only when the work is suitable for DIY. If a task ends up needing to be redone, or worse, corrected before certification or handover, the cheap start turns into an expensive finish. The decision is not whether you can do the work, it's whether you can do it safely, legally, and without slowing the rest of the job.
Good DIY work and bad DIY work
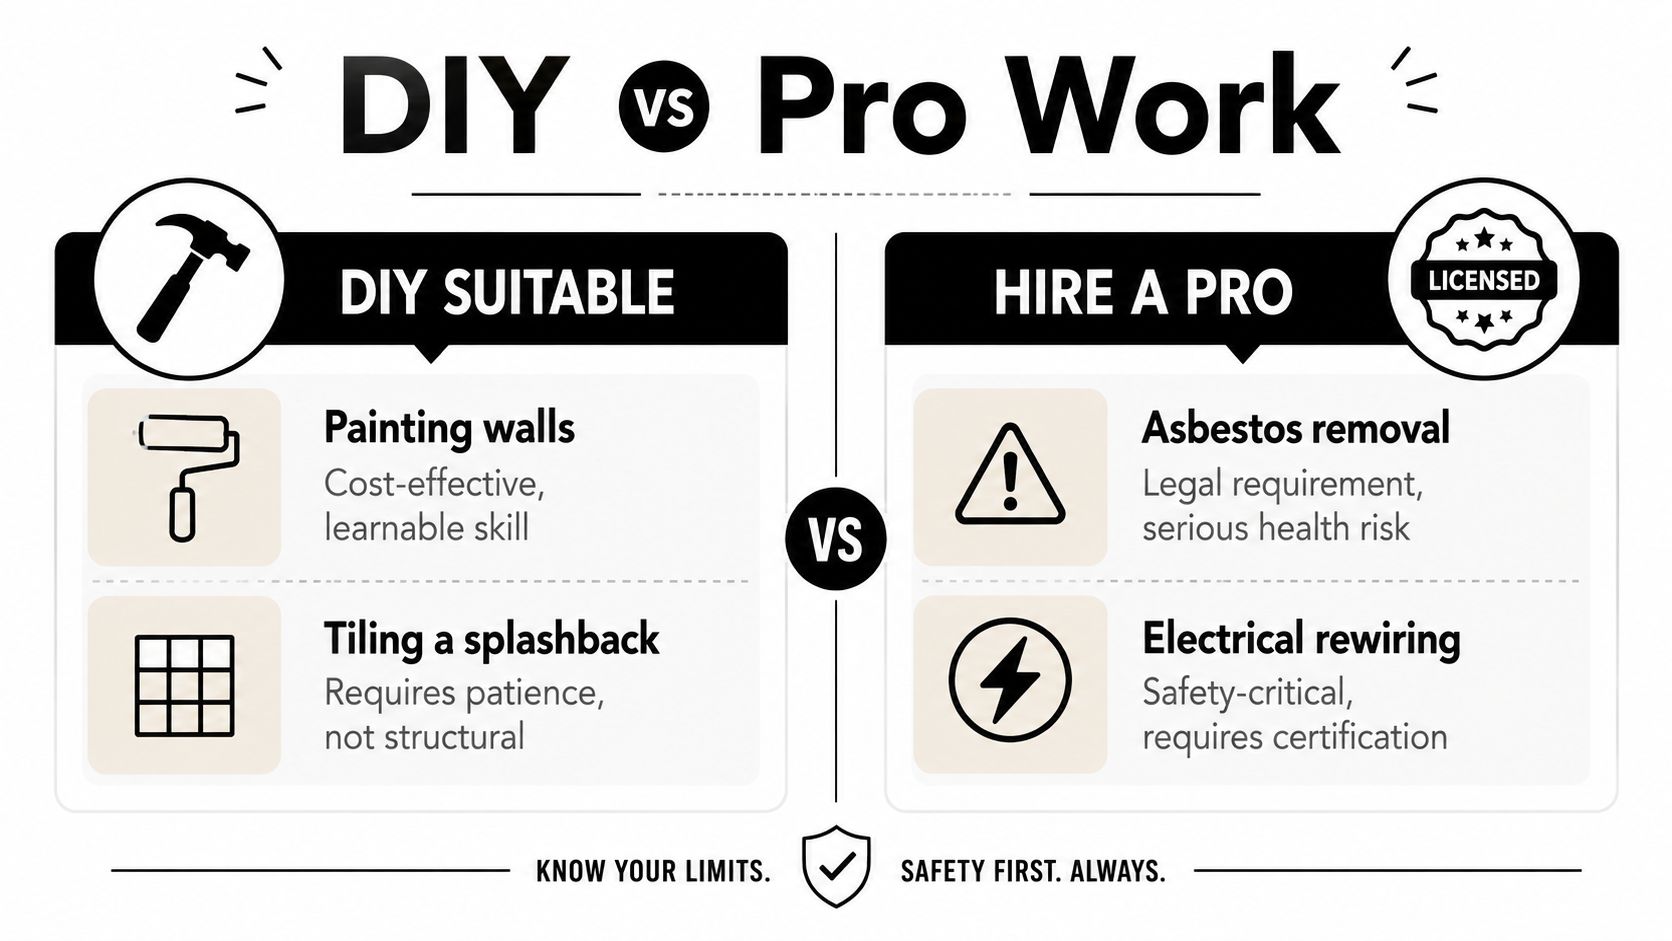
Painting is often a good DIY task if the surface is sound and the prep is done properly. Basic demolition can also be manageable, provided it doesn't involve load-bearing elements, concealed services, or hazardous materials. Tiling a simple splashback can be a fair DIY project for a patient homeowner, but only if the substrate is ready and the layout is straightforward.
The work that should go to licensed professionals is different. Electrical rewiring, plumbing changes, and asbestos-related work sit in the category where compliance, certification, and safety matter more than saving a labour line. If you're not licensed for the trade, don't treat the job like an experiment.
How to run a hybrid project without chaos
A hybrid approach works best when the DIY tasks happen before the critical path starts, not in the middle of it. Clear rooms, remove loose fittings, patch non-structural damage, or do the painting prep before the scheduled trades arrive. Don't leave unfinished DIY work blocking access to the plumber, electrician, or cabinet installer.
Good vetting also matters. Ask for itemised quotes, check that the scope matches the drawings or brief, and make sure the handoff between your work and the professional work is clear. That avoids the frustrating situation where one trade blames another for a delay that started with poor sequencing.
The quick test is simple. If the task affects safety, compliance, insurance, or the next trade's ability to do their job, hire a professional. If it's cosmetic, reversible, and you've got the skill and time, DIY can be a real saving.
Your Adelaide Renovation Action Plan
Start with the parts of the home you can't see. That means checking the scope, confirming the likely risks, and getting the inspections or advice that keep a cheap-looking job from turning into an expensive one. Then price the actual work, not just the visible finishes, and hold a proper contingency so the budget can absorb surprises without stalling the project.
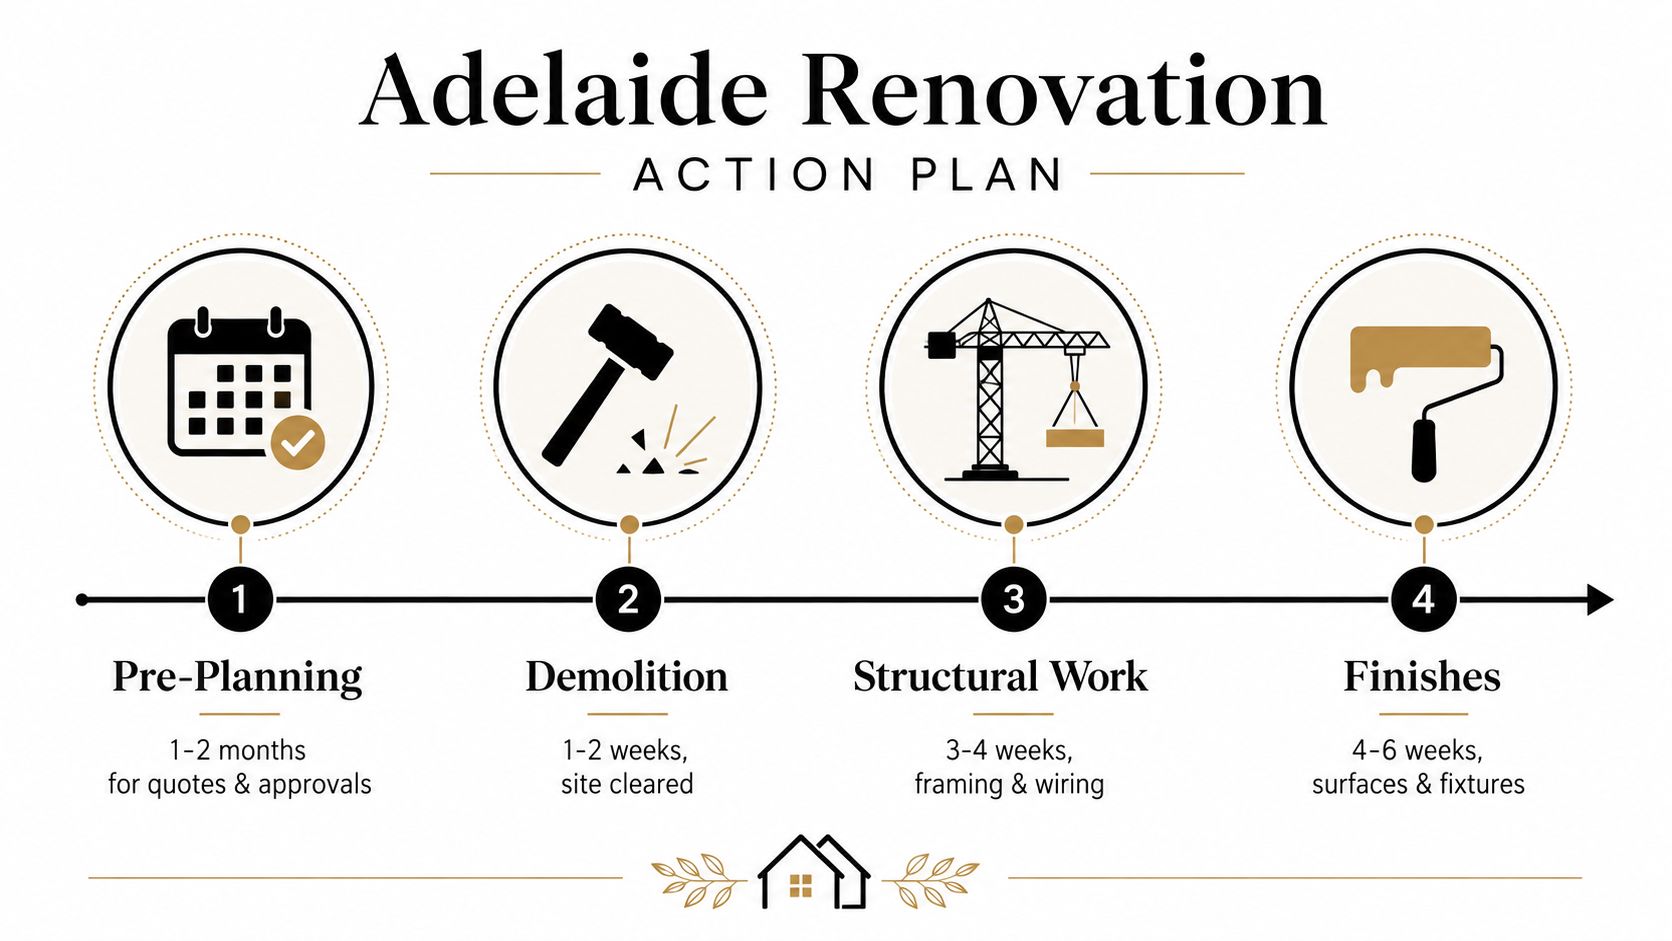
The cleanest order is simple. Pre-planning comes first, then demolition, then structural and service work, then finishes. In Adelaide, that sequence matters because weather, approvals, and older housing stock can all change how quickly the job moves, especially when a project crosses from cosmetic upgrade into compliance territory.
Keep a weekly budget review going from the first day on site through handover. If a variation appears, decide immediately whether it's a must-have or a can-wait item. That discipline is what separates a budget friendly renovation from a project that starts lean and finishes stressed.
If you want a renovation team that understands Adelaide homes, hidden site risks, and the difference between saving money and just spending less upfront, visit Templeton Built. Their approach suits homeowners who want clear scope, practical advice, and a finish that holds up in real life, not just in the quote.


Leave a Reply