

How to Create Seamless Indoor Outdoor Living Spaces
You've outgrown the living area, the kitchen feels cut off from the backyard, and every renovation image you save seems to feature the same solution: a wall of glass opening onto a perfectly styled alfresco. In an Adelaide home, that image can be useful inspiration, but it can also hide the biggest risk. A west-facing glazed pavilion without proper shading may look exceptional in a render and feel unbearable on a hot January afternoon.
Good indoor outdoor living starts somewhere less glamorous than the door schedule. It starts with the block, the sun, the breezes, the neighbours, the existing trees and the way your household uses the home. The Australian verandah has always responded to those practical conditions. Historical research identifies the first recognisable Australian verandah in 1793, with verandahs becoming standard in many early colonial dwellings from roughly 1788 to 1840 and beyond as shaded, ventilated living areas suited the climate (historical research on the Australian verandah).
That logic still works. A successful extension doesn't remove a wall. It creates a comfortable sequence between kitchen, meals, family space, alfresco and garden, with each part helping the next perform.
Reading Your Block Before You Draw a Thing
A family in a cramped Adelaide home often begins with a simple request: extend the kitchen, add more room for the children and make the backyard usable. The first useful question isn't, “How wide can the stacker doors be?” It's, “Which part of this yard is comfortable enough to become a room?”
Start outside with a basic site assessment. Mark north, then observe the yard at different times of day. Morning sun, afternoon glare and low winter light create very different conditions, especially where the proposed living room faces west. A shaded northern edge may suit a family room, while a western boundary might need a planted buffer, deep eaves or a solid-roof transition before it can support a glazed opening.
Observe the block in use
Record the practical conditions that a floor plan won't reveal:
- Sun angles: Note where direct sun lands in the morning, around midday and late afternoon. Pay particular attention to the western wall, roofline and proposed alfresco.
- Breezes: Track where summer air enters and where it can leave. A single opening facing a still courtyard won't produce the same result as openings aligned across the plan.
- Privacy: Identify overlooking windows, upper-storey sightlines and the positions where outdoor furniture would feel exposed.
- Trees and planting: Existing canopy can provide valuable shade, but roots, branches, leaf drop and future growth need to be considered before placing slabs or drainage.
- Ground conditions: Record slope, retaining walls, surface water, soil changes and access for construction. These details can affect the structure long before finishes are selected.
A west-facing block in Glenelg has a different problem from a north-facing home in the Adelaide Hills. Coastal glare, salt exposure and afternoon heat demand one response, while slope, bushfire considerations, vegetation and changing wind conditions may dominate another. The rear boundary also matters. A covered alfresco positioned directly behind the kitchen may be convenient, but if it receives harsh late sun or sits in a stagnant pocket, the family may avoid it during the hottest part of summer.
Before meeting a builder, complete a one-page checklist. Bring a site survey guide into the discussion, then ask how the design responds to each observation rather than asking for the largest possible opening.
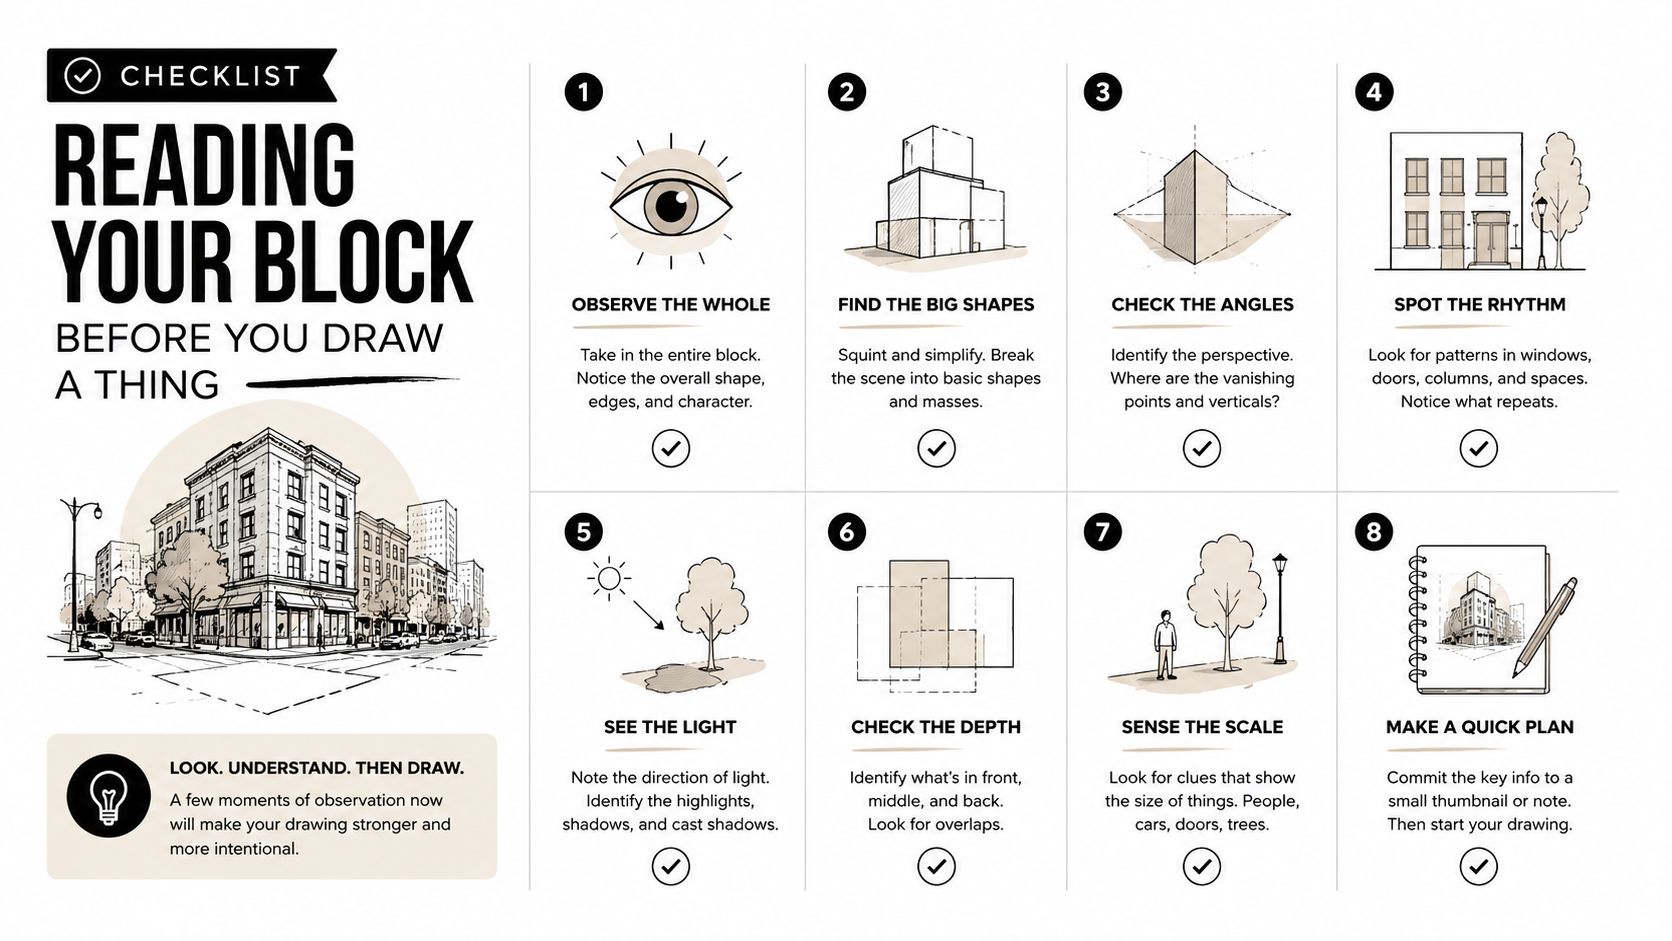
Practical rule: If you haven't mapped sun, wind and privacy, you aren't ready to choose the doors.
Laying Out the Flow Between Inside and Outside
The threshold determines whether an outdoor area feels like another room or a separate patio. A wide opening helps, but the surrounding geometry carries more of the daily experience. The kitchen, meals area, family room, threshold and alfresco should form a legible sequence, with sightlines that make the garden visible before the doors are opened.
Consider a typical 1970s renovation. The kitchen is tucked against a wall, the meals table sits in a narrow passage and the family room looks towards a side fence. A new opening alone won't solve that arrangement. The cook may still face away from guests, the table may obstruct the threshold and the outdoor setting may sit outside the main line of conversation.
A better plan repositions the kitchen so the island faces the meals and family zones. The outdoor dining table then aligns with the indoor table or island sightline, while the covered alfresco becomes a continuation of the entertaining area. The cook can remain part of the conversation without raising their voice across separate rooms.
Design the sequence, not just the opening
Use these checks while testing a plan:
- Approach the space from the front door. The route should feel natural, without sending guests through a work zone or forcing furniture against the opening.
- Stand at the kitchen island. You should be able to see the outdoor dining setting and the main garden outlook.
- Check the ceiling relationship. A sudden drop from a generous interior ceiling to a low alfresco roof can make the outdoor room feel compressed. Continuity doesn't require identical heights, but it does require deliberate proportion.
- Follow the floor line. A flush transition can improve visual continuity, but only when drainage, waterproofing and weather protection are properly resolved.
- Place real furniture. Test an eight-person dinner party, not an empty render. Allow for chairs, serving paths, children moving through and doors parked open.
The best test is practical: could the indoor and outdoor rooms host one dinner party of eight without people splitting into separate groups? If the answer is no, widening the opening may not fix the underlying layout. You may need to move the kitchen, alter the furniture arrangement or create a second connection to the garden.
Sightlines also influence perceived size. A framed view of planting, a courtyard wall or a mature tree can make the outdoor room feel intentional, while a direct view of bins, air-conditioning equipment or a neighbour's window undermines the connection. The outdoor room should be designed as part of the plan from the beginning, not added after the internal walls are fixed.
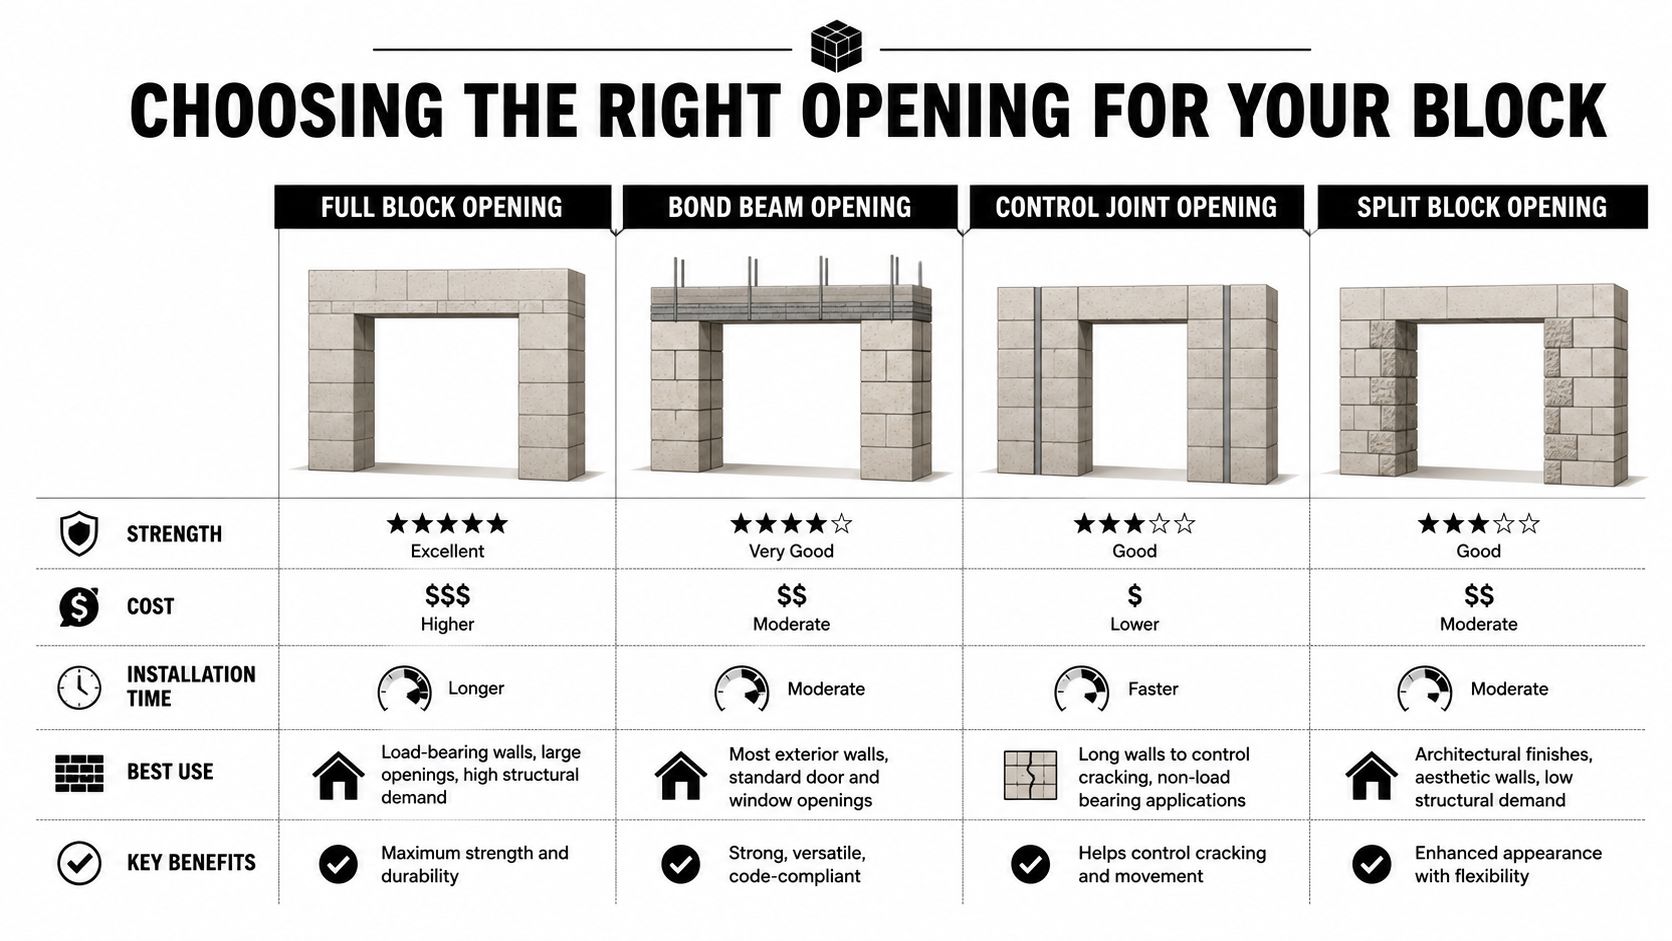
Choosing the Right Opening for Your Block
Door systems solve different problems. The right choice depends on the wall, the roof structure, the wind path, furniture placement and how much of the opening you need available at once.
Bi-fold doors create a strong visual connection because the panels fold into a compact stack at one or both sides. They suit entertaining areas where people move frequently between rooms, but the folded panels still occupy wall space and can obstruct part of the opening. Their hardware also needs careful protection from dust, debris and weather.
Stacking sliders usually offer a smoother everyday operation across a broad opening, with panels sliding behind one another. They can work well where a long wall needs to open without a large door swing, although the parked panels remain in front of part of the aperture. A six-metre system may look fully open in a brochure, but the usable clear opening is reduced by the stacked leaves.
Standard sliding doors are often the sensible choice for a smaller extension or a home where reliable operation matters more than maximum removal of the wall. They need less clearance than hinged doors and can provide a useful breeze path when paired with another opening. A single slider won't create cross-flow in a deep-plan room if the opposite side has no outlet.
Lift-and-slide doors use a larger handle movement to lift the panels clear of the running seals before sliding. They can deliver a broad, unobstructed opening with a substantial feel, but the frame, structure and installation need close coordination. They may cost more than simpler systems, so the benefit should be measured against the orientation and ventilation strategy rather than assumed from the product name.
| Opening type | Strength | Limitation | Best suited to |
|---|---|---|---|
| Bi-fold | Compact parked panels and strong connection | Panels occupy wall space when folded | High-traffic entertaining zones |
| Stacking slider | Broad glazed frontage with simple sliding action | Stacked leaves reduce the clear opening | Long walls with limited swing space |
| Sliding door | Straightforward operation and efficient use of space | Usually offers a more limited aperture | Smaller extensions and controlled openings |
| Lift-and-slide | Smooth movement and a generous clear opening | More demanding structure and detailing | Larger, carefully engineered living zones |
The structural question comes first. Removing an external wall may require a substantial header, posts or steel support, especially where the roofline, upper floor or existing masonry bears above the opening. Multiple smaller openings can sometimes preserve more structure and provide better cross-ventilation than one dramatic aperture.
Cross-flow should guide the decision. The Australian thermal comfort study on cross ventilation reports that cross ventilation delivered acceptable comfort for most of a typical hot summer day in the case studied, exceeding 70% of the day, while single-sided ventilation performed worse. Map the inlet and outlet before selecting the door. A large stacker door facing the garden isn't enough if furniture, partitions or a blocked rear elevation prevent air from moving through the room.
Climate, Shading and Year-Round Comfort
The most common Adelaide failure is a beautiful glazed wall treated as the climate strategy. Glass doesn't create comfort by itself. Orientation, external shading, roof coverage, ventilation and the thermal performance of the surrounding construction decide whether the room works in summer.
A west-facing opening carries the greatest risk because low afternoon sun can enter beneath eaves and drive glare and heat into the living zone. Internal curtains help with privacy and brightness, but they sit inside the heat path. External blinds, screens, shutters, planting and properly sized eaves intercept solar gain before it reaches the glass.
Spend on shade before more glass
When money is limited, prioritise the parts that protect the room:
- External shading: Motorised blinds or fixed screens can control late sun while preserving the option to open the room during milder conditions.
- Solid roof coverage: A solid-roof alfresco generally offers more dependable shade than a louvred pergola when the main problem is summer heat. Louvres remain useful where owners want adjustable light, but they don't provide the same sealed overhead protection in every position.
- Eaves and transition zones: Deeper eaves, a covered breezeway or a planted edge create a buffer between conditioned space and exposed yard.
- Air movement: Ceiling fans support comfort when the breeze is weak, but they can't replace a clear inlet and exhaust path.
- Planting: Deciduous screening can temper summer sun while allowing winter light, provided the planting suits the soil, maintenance expectations and site conditions.
Roof pitch and drainage also matter. An alfresco roof must discharge water away from the threshold and avoid creating a low point where runoff concentrates beside the house. The roof should be designed with the door system, slab levels, gutters and flashing, not bolted on after the opening has been selected.
A room that opens onto a covered outdoor area can still overheat if the outdoor zone traps warm air. Leave a deliberate path for air to escape, and don't block it with high joinery, dense screening or a tightly enclosed verandah.
The NCC ventilation provisions require occupied spaces to receive outdoor air that maintains adequate air quality. For natural ventilation, the openable area must be at least 5% of the room's floor area. Where air passes through an adjoining room, both spaces must meet the relevant 5% threshold, so the alfresco cannot be assumed to solve ventilation for the living room.
On a difficult orientation, a smaller shaded opening often performs better than a larger unprotected one.
Use passive solar design principles to test the whole arrangement. On a hot 38°C January afternoon, comfort comes from controlling the heat before it enters, then using air movement intelligently. The most photogenic option isn't always the most liveable one.
Materials That Survive Adelaide Conditions
Materials reveal whether a project was designed for photographs or for years of lunches, dust, salt air and maintenance. A coastal outdoor room in Glenelg and a foothills extension face different exposure, but both need finishes selected for heat, ultraviolet light, water management and cleaning.
On a coastal project, natural timber decking can provide a warm transition from an older interior to a garden. Spotted gum and merbau have a strong appearance, but they still need a maintenance plan. Timber exposed to sun will weather, move and change colour, and many owners underestimate how quickly an attractive oiling routine becomes another household task.
A foothills project may favour concrete, exposed aggregate or stone because those finishes connect strongly with the natural setting and tolerate heavy furniture. Concrete needs control joints and careful drainage, while pale stone can show marks and darker materials can hold heat. Porcelain tiles can create the cleanest indoor outdoor continuity when the same or closely matched product is suitable for both areas, but the installation must resolve falls, movement, waterproofing and slip resistance.
Composite decking reduces some recurring coating work, although it can still become hot in direct sun and may not replicate the feel of timber. Powder-coated aluminium screens offer durable privacy and sun control, but their colour, fixing and expansion detailing should be considered alongside the door frames and roof.
| Material | Heat behaviour | Maintenance | Lifespan |
|---|---|---|---|
| Spotted gum | Can become hot in direct sun and changes appearance as it weathers | Cleaning and periodic oiling if the original colour is to be retained | Long service is possible with sound detailing and maintenance |
| Merbau | Dense timber with strong visual warmth, but exposed boards weather | Regular cleaning and coating maintenance | Long service is possible when kept clear of persistent moisture |
| Concrete or exposed aggregate | Thermal mass can hold heat, especially on exposed western surfaces | Sealing, cleaning and attention to cracking or staining | Durable when joints, falls and drainage are correctly designed |
| Porcelain tile | Generally stable, though dark colours can absorb substantial sun | Low routine maintenance, but grout and drainage still need care | Long-lasting when correctly installed over a suitable substrate |
| Bluestone or limestone | Stone temperature depends heavily on colour and exposure | Sealing and stain management may be required | Durable, with performance dependent on selection and installation |
| Composite decking | Can feel hot under direct summer sun | Usually less coating work than timber, but still needs cleaning | Product-dependent, with substructure and heat exposure affecting performance |
| Powder-coated aluminium screens | Doesn't absorb heat like masonry, but can become warm in sun | Washing and checking fixings | Durable when coating and installation suit the environment |
The cheap tile often appears attractive at selection stage, but the true cost includes breakages, cleaning, replacement difficulty and the disruption of repairing a poorly detailed threshold. Choose the floor as part of the drainage and structure, not as a final decorative layer.
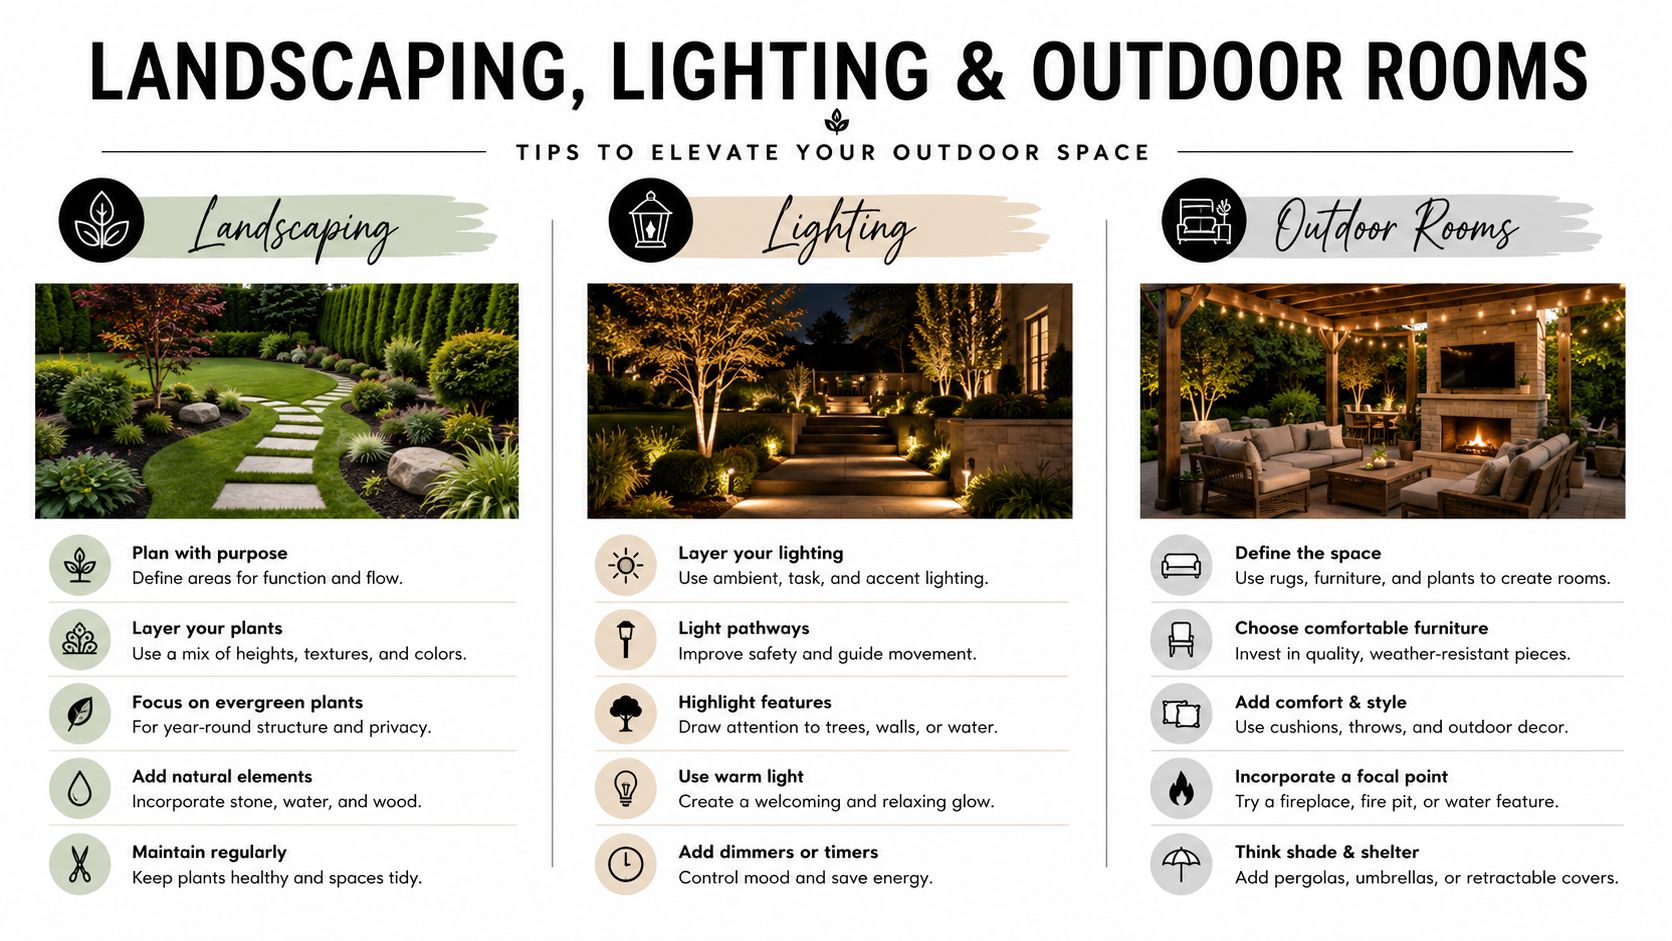
Landscaping, Lighting and Outdoor Rooms
An outdoor room needs more than a slab and a barbecue. Families use it on ordinary evenings when the lighting is soft, the chairs are comfortable, the bins are out of sight and nobody has to carry every plate from the kitchen.
Start with three outdoor layers. The overhead layer may be an alfresco roof, a tree canopy or a pergola structure. It controls sun, frames the view and gives the space a ceiling. The middle layer includes screening plants, hedges, trellis and outdoor furniture backs. It handles privacy and makes the edge feel softer. The ground layer uses planters, paving changes, step-downs and garden beds to define where the outdoor room ends.
Build services into the room
Plan these items before the slab and walls are finished:
- Power: Include outdoor-rated power points for refrigeration, heating, appliances, charging and occasional equipment. Keep them accessible without placing them where rain can collect.
- Kitchen services: Gas, water, waste and ventilation routes should be coordinated before cabinetry is ordered. An outdoor sink without a practical drainage solution becomes a maintenance problem.
- Lighting circuits: Separate the cooking task lights from the ambient circuit. A bright barbecue light shouldn't flood the dining table.
- Charging and storage: A discreet charging nook, lockable cupboard or bench storage can prevent the outdoor room from becoming a pile of extension leads and cushions.
- Planter drainage: Raised beds and built-in planters need falls, outlets and waterproofing. Water trapped against the house will eventually find a weakness.
- Furniture clearance: Leave enough room for dining chairs to move, serving platters to pass and doors to operate without collisions.
Use warm, low-level lighting to connect the interior glow to the garden. Wall lights can mark the threshold, step lights can improve safety and concealed strip lighting can wash a ceiling without creating glare. Aim fittings away from neighbours and avoid lighting the glass directly, or the room may become a mirror at night.
Plant selection needs a realistic maintenance conversation. Some plants tolerate Adelaide heat and periods of limited supplementary watering, while others look lush at installation and decline once the novelty of daily irrigation fades. Match species to soil, aspect, wind and the household's willingness to prune, replace and water.
A sustainable landscaping approach can reduce the mismatch between the garden shown in a render and the garden a family can maintain.
Resolve approvals before construction
An outdoor room may require more approvals than homeowners expect. A building permit can be relevant to structural work, roofed areas, alterations to the dwelling and changes that affect safety or performance. A Development Application may also be needed, depending on the site, planning controls, heritage status, setbacks, overlooking, roof form or other local requirements. The exact pathway should be confirmed with the relevant authority and design team before work begins.
Common traps include enclosing an existing verandah without reviewing its new classification, building over an easement, placing a structure where stormwater access is restricted or extending into a bushfire-prone area without suitable materials and detailing. Heritage overlays can also affect established Adelaide suburbs, including what may be visible from the street and how additions connect to an older home.
Ventilation becomes especially important when a verandah changes from an open buffer into an enclosed room. The NCC's 5% openable-area requirement applies to naturally ventilated occupied spaces, and the adjoining space may need to meet the same threshold when it forms the air path (NCC ventilation requirements). If direct natural ventilation isn't available, mechanical ventilation needs to be designed to AS 1668.2, rather than relying on a large door that doesn't create compliant airflow.
Raise permits, easements, bushfire conditions and heritage controls at the first meeting. Discovering them after the frame is up is expensive and avoidable.
Budgeting, Timelines and Working with a Builder
Indoor outdoor living budgets become unreliable when homeowners price the door before pricing the project. The opening may be visually dominant, but the budget can be consumed by structural steel, demolition, slab alterations, drainage, electrical upgrades, roof work, waterproofing and approvals.
I won't attach invented square-metre rates to Adelaide construction. Costs vary too sharply between a simple covered alfresco, a structural wall removal and a full open-plan reconfiguration to make a generic range useful without a defined scope. A credible estimate should identify the existing structure, access, soil, finishes, glazing system, roof form, services and compliance requirements.
What the budget needs to show
Ask for costs to be separated into meaningful packages:
- Site and demolition: Existing paving, walls, trees, retaining, access and removal.
- Structure: Footings, slab, beams, posts, steel, roof framing and tie-ins to the existing house.
- Openings: Door frames, glazing, screens, flashings, sill details and installation.
- Climate response: Eaves, roof coverage, blinds, fans, insulation and shading.
- Services: Electrical circuits, lighting, plumbing, gas, drainage and outdoor kitchen connections.
- Finishes: Flooring, joinery, stone, decking, paint, screens and landscaping.
- Professional and approval fees: Surveying, design, engineering, planning, certification and permit work.
If the choice is between a wider glazed opening and better external shading, I generally favour the shading on a difficult orientation. Eaves and ceiling fans can deliver more daily value than decorative upgrades because they protect comfort rather than just changing appearance. Structural steel and slab work deserve an early allowance because they're difficult to remove from the scope once the design is committed.
Understand the construction sequence
A custom project usually moves through a chain of decisions rather than one continuous building task:
- Initial briefing and site review.
- Measured survey and existing-condition checks.
- Concept design and orientation testing.
- Preliminary budget and scope alignment.
- Engineering, energy and planning review.
- Development Application or other planning pathway, where required.
- Detailed documentation and building approval.
- Final selections and trade coordination.
- Demolition and site preparation.
- Structure, roof and openings.
- Services, finishes and landscaping.
- Testing, defects review and handover.
The duration depends on the approval path, design changes, material availability, site access and the amount of work inside the existing home. A renovation with an occupied kitchen needs a different staging plan from a new extension built beside an empty area. Ask the builder to identify decision dates, long-lead items and the point at which selections become fixed.
A volume process may rely on standardised details and a larger handover chain. A boutique custom builder may involve the principal more closely and coordinate bespoke responses to the block, but that doesn't remove the need for organised documentation and prompt client decisions. The process works when one person clearly owns coordination.
Questions to ask before signing
- Who draws the plans? Confirm whether the designer understands orientation, ventilation and existing construction.
- Who manages approvals? Ask which applications are included and who responds to authority requests.
- Who coordinates trades? Find out who checks the relationship between steel, glazing, waterproofing, drainage and finishes.
- How are variations priced? Require written descriptions, cost impacts and approval before additional work starts.
- How is the opening tested? Ask how sill drainage, weather sealing, operation and threshold levels will be checked.
- What happens when existing conditions differ? Renovations often reveal concealed structure, services or moisture damage. The contract should explain the process.
Use this checklist at the builder meeting:
- Site assessment completed.
- Orientation and shade mapped.
- Summer and winter breeze paths considered.
- Opening selected for airflow and structure, not brochure appeal.
- Shading and roof coverage documented.
- Materials assessed for long-term exposure and maintenance.
- Ventilation, permits, planning, heritage and bushfire questions answered.
- Budget allowances separated by trade and scope.
- Decisions and variation process understood.
- Construction sequence and communication responsibilities confirmed.
The Australian attachment to outdoor-connected rooms has deep roots, and current household use reflects that connection. A nationwide survey reported that 77% of respondents used their main outdoor living space nearly every day, while 92% considered an attractive, inviting outdoor area important to a home (Australian outdoor living survey). The reported activities included relaxing, family time, barbecuing, gardening, entertaining friends and reading, which makes the practical performance of the room more important than a single polished photograph.
Adelaide projects will keep facing tighter sites, variable weather, complex planning controls and, in some locations, bushfire-related considerations. The answer isn't always more glass. It may be a smaller opening, a better breeze path, a deeper eave, a solid roof, durable flooring and a garden that survives real conditions.
Templeton Built works with Adelaide homeowners on renovations, extensions and custom homes, including the design and construction of connected kitchen, living and alfresco spaces. Visit Templeton Built to discuss your block, orientation and indoor outdoor brief with a team that can carry the project from early design through construction.


Leave a Reply